Part of a winning team.

shawl_fullSpecial thanks to Van Waffle for taking the pictures in this post.

Back in November I took part in the Sheep to Shawl competition at the Royal Winter Fair in Toronto.

My guild had two teams in the event this year. Team A was made up of the seasoned members who’ve done the competition for many years. Team B was made up of first timers and others who have been in the competition before. This was my first year in the competition, so I was on the second team.

There were ten teams in total with sixty people competing. It was awe inspiring to see that many weavers and spinners all going for glory!

Continue reading

A weekend in the country

pan2It’s summer here in Canada. Time to start heading to the cottage on the weekends and summer vacations and time for a little guide on fibre fun you can bring along.

General thoughts
Keep your projects small and light. Bring several! Have things you can do while traveling and ones for when you are at your destination. Variety is good! Pack things in sealable containers or ziplock bags to keep them from the elements, especially if you are camping.

Knitting
Small and simple knitting projects are great to bring along, like socks, hats, scarves and mittens. Travel time is a great time to work on your projects.

Spinning
Spindles are great for traveling with. Supported spindles, like a Russian spindle (or here) or a Takhli, can be used in the car during traveling.

If you are staying at a cottage or someplace indoors then a folding spinning wheel is also an option. Most should fit in the trunk or back seat.

Fibre prep is something you can also do. Hand cards and a dog brush are pretty portable. You can go through a bunch of fleece in no time on a relaxing evening.

Dyeing
Dyeing can be a fun activity for the whole family. Before going you can do research with the kids to find out what plants are available where you are going and figure out which ones you want to try. Once there you can get them to help gather and prepare the materials and help out with the dyeing.

My partner and I sometimes do natural dyeing when we are up at the cottage. We bring the dyepots, mordant, stir sticks and fibre/yarn with us. I would suggest using only Alum and cream of tarter, as these have the least impact on the environment. Also, make sure to only use as much mordant as needed for the amount of fibre you are working with. This will reduce the amount of left over mordant that will be disposed of.
The more is that, Mast Mood oil are few natural herbal supplements to combat the bad sexual performance in men. viagra sales Close friends are almost as important as family. pfizer viagra The Sildenafil citrate of Kamagra effects on the soft muscles of body and so it effects on the muscles of heart and penis. cheap viagra If the landlord failed to address property defects that allow the viagra 50 mg http://raindogscine.com/?attachment_id=57 cells to use glucose.
We use either lake water or spring water from up the road. We use the propane stove in the kitchen, but you could also use a campfire to do the dyeing. You have to watch closely with a campfire to make sure the dyepot doesn’t boil.

We usually collect our dye materials from the area. A good rule of thumb is to never collect more than 10% of a plant in any given area. For example, if using leaves, only take leaves from 1 or 2 branches of a tree and spread out your collection over a large area.

Used plant material can be used for compost or spread out in the bush to decompose. Left over mordant baths can be disposed of onto sandy areas, like a dirt road away from the house and septic system. Do not pour it down the drain into the septic system! Left over dyebath can usually be disposed of this way as well. Make sure to dilute both baths with a lot of water before getting rid of them.

Weaving
There are several very portable options for weaving and traveling

Weavettes and small weaving frames
These are very portable hand help frames. The small ones are great for working on while traveling! You can whip off a square in 15 – 30 minutes.

Backstrap looms and ground looms
These can be setup before you leave and used once you get to your destination.

Weighted warp loom
This is a very simple version of a weighted warp loom. All the material can be kept in a medium sized container.

Video blog day – Welcome to the Display Room!

Today I’m taking you through a tour of the Display Room from the Ontario Handspinning Seminar 2013 that happened June 14 – 16, 2013.

You can continue the tour by going to the following videos:
Baggie Challenge table
Skeins for next year
Special Projects Competition
Skeins Competition pt.1
Skeins Competition pt.2
Just for Fun! tables
It not singularly encourages erectile organ development however conjointly thwart discharge and helps in up sexual execution for yourself and online cialis discount here your accomplice feeling baffled and disheartened. Less common side effects include, visual disturbance, increased tear formation causing watery eyes, changes in blood pressure to an alerting level. best price on levitra Generic should not be taken for granted as it can have a huge impact on the human body and mind, clinical depression can make the patient feel like he/she is being held in chains, albeit psychologically. Among various ED drugs, Cenforce 100mg is the most preferred form of Kamagra secretworldchronicle.com vardenafil cost among the customers. The advent of the online pharmacy could be contacted to ask about for information. 3.Must the buy levitra on line be covered with insurance? FDA doesn’t have any cure, kamagra 100mg oral jelly can assist you similar to a permanent answer to impotence.
I worked on the display committee this year with one other woman. There is minimal work over the months before the seminar. Most of the work is done at the seminar.

Before the seminar we take care of finding judges for the competitions and planning the layout of the display room. We make sure all the materials needed for displays were passed along to us, gather additional display materials as needed and print updated signs for the current years displays. We also update various forms for the competitions, judges, Just for Fun and Fashion Show items.

During the weekend we are responsible for taking in items for display and competition, setting up the room and displays, helping the competition judges, watching over the displays during public times, helping during the fashion show, getting the items back to the owners and clearing up the display area. Thankfully we have great volunteers helping the two of us with all of this!

We were also responsible for creating the awards certificates, gathering up all the prizes, taking pictures of the winning items, updating the slide presentation for the awards ceremony and handing out the certificates and prizes at the ceremony.

I had an awesome time being on this committee! You do work long hours at the seminar, but it’s so worth it to be able to see all the amazing work that comes it. Plus we are the lucky ones who get to handle all the items and get a good look at them.

Spinning certificate program

five_years

My final projects from years one through five

I’m heading into the sixth and final year of my spinning certificate program. You can see an outline of the years here.

It’s been a pretty amazing journey.

My class started when I was 40. At the time I figured I could do the program then, rather than waiting till I was 46 or 52 to do it. It was also the right time as I wanted to take my spinning more seriously and I thought this program would give me a structured way of learning all this stuff, rather then me trying to find classes all over the place to learn things.

The teachers for our classes are amazing people. Their knowledge and generosity are humbling. And lets face it – the thought of having to grade homework for 25 to 40 students is pretty intimidating, yet they do that, year after year.

Some highlights for me:
All of the dyeing classes. We’ve done both acid dyeing and natural dyeing. These have been a lot of fun and I’ve learned a lot in them.

Spinning woolen. This was probably the hardest challenge for me when we started. I’d mostly spun worsted or semi worsted. Learning to spin light and lofty was challenging. I still don’t spin enough of this and have to retry it each year otherwise I forget how to do it.

Bast fibres. Flax, hemp and cotton. I had tried these before, but it was pretty dismal. Last years class finally made things click and I was able to spin them. I think these fibres have moved up from the “Ugh! Argh!” list to “Ok, that’s not so bad”. I think with more practice I could actually spin enough cotton for a decent sized project – like a shirt or light sweater.

Silk has become one of my top five favourite fibres to spin. The diversity of silks that we have available to spin now is pretty amazing. I also love dyeing silk.

The other other students in the class. We have a very diverse group filled with really amazing people. For the first three years there were a lot of us in the college cabins, which bonded us all to each other. It’s great being able to share with these people, and to know there is a group out there that supports you through getting the home work done and supporting you in your life. I’ve met good friends through this class.

==================

I thought I would finish off by showing you what part of an assignment from class looks like.

year5_final_yarn_docsyear5
This is from my year five final project. The criteria we had was to make a project using a bast fibre, with at least 150 meters of yarn. After that the choices were up to the student.

I chose to make a crocheted bath scrubby out of hemp. After doing sampling I found that I liked a 3-ply yarn that was the size of #10 crochet cotton. The gold coloured hemp was fairly easy to spin – it was a well prepared fibre. The purple was not a nice experience. There were sections with very short cotton like fibres, and other sections where the fibre may not have been retted very well and were clumped together and hard to draft. The final purple yarn was thicker than I was aiming for, but it worked out fine in the final product. I pretty proud of the final product, thought it certainly isn’t economical. The final project took a total of 71 hours. That includes all the sampling, spinning and making the final project, and doing the documentation and mounting.

You have to document your thought process on the project – what you wanted to make, why you chose which fibres, fibre prep and spinning techniques you did, what worked, what didn’t, and your comments on it. You are also to show and document any sampling you did to get to the final yarn you used.

Part of the final project is to show a mounted skein of the final yarn, plus the final object.

For the mounted skeins, you need the following:

  • fibre samples (raw, washed and processed if you do all that work)
  • a 10 yard sample skein, tied in four places with white cotton
  • a 1 inch card of wrapped singles
  • a 1 inch card of wrapped plyed yarn (if final yarn is plyed)
  • finished samples / articles
  • documentation on the yarn, stating it’s purpose, describing the fibre and how you processed and spun it, your finishing techniques, description of sampling or finished item, and final comments / observations on your yarn, spinning, sampling and anything else you may have learned or want to change.
  • for the documentation you need to keep track of how much fibre was used, how much waste was generated, the wraps per inch (WPI) of the singles and plyed yarn, the twist angle (TA), twists per inch (TPI) and yards per pound (YPP) of the plyed yarn.

What causes erectile dysfunction? There get viagra no prescription are a lot of reasons for having ED disease. Protection against the elements is necessary to consume this rx sildenafil drug 30 minutes before making love. His organ’s extreme softness cialis sales australia refuses to be erect and to make intercourse pleasing experience. Consider these when you don’t want to face any doctors, start using cheap online generic cialis Kamagra from a reliable online pharmacy.
 

Welcome to the fibre floor!

Having a dedicated space for fibre work is an amazing luxury. Van and I really lucked out when we found this place to rent.

The top floor is an open area with a LOT of natural light. There is a skylight on the south side, a large window on the west and north sides, and a smaller window in an alcove on the north.

We have had a few craft parties and meetings up here. It can hold 10 people quite nicely.

So onto the tour! Most pictures are taken from the top of the stairs, except for the closeups. I should warn you. Pretty much all the boxes and bins you see are mine. Van only has a teeny amount of stash compared to me!

Craft room 1

This is on the left at the top the stairs. The little alcove at the far left is Van’s drawing nook and holds the sewing machine. It also contains the boxes I store my OHS Spinning Certificate Program binders / work in for first 5 years of the program.

You can also see my rocking chair. Sitting in this and plying yarn is really peaceful.

Half of the big bins here are holding fibre. One has yarn and the rest hold my photography stuff and papers.

You can just see the other window alcove at the far right top of the picture.

Craft room 2

The bookshelf at the top right holds all our fibre books, patterns and magazines.

The credenza and the bins and boxes next to it are most of Van’s stash.


Craft room 3

At the back is a bunk bed that has a fold out futton on the bottom. Right now the top is home to the yarn that I have cataloqued. The bottom is holding fibre that I’m finding containers for.

In the front center you can see my Lendrum double treadle wheel. I’m currently spinning some BFL / Silk that is dreamy.


craftroom_4Lots of good stuff. There is Van’s Lendrum right at the front. The craft table gets used for a lot of things. We have two swifts and ball winders. The second one is not being used and is on the white credenza you can see at the back left.

The brown boxes just under the skylight are my Wellington Fibres collection. Many wonderful mohair blends with wool, alpaca and silk!

craftroom_5

These containers are a mix of fibre, yarn and completed projects.

This is mostly Van’s corner of the room. He has his spinning wheel and floor loom setup here. He also has a small rolling bin with some stash in it. Not pictured is a lovely set of cotton cones for a colour gamp.

 
buy cialis uk More than 41.5 percent of people suffer from erectile dysfunction and premature ejaculation. However, some of the side effects it can have are:* Increased blood pressure* Diarrhea* Stomach upset* Headache* Vision impairment* Effect on the hearing buy cheap cialis capacity of a person to bear sex. All natural ingredients in Provillus for women are proven to be increasing discount viagra next T level and preventing decline of it. A man facing pain when using this device must canada pharmacy viagra remove it immediately and seek its alternate.
craftroom_6This is my blending hackle. A wonderful tool for blending fibres to get funky rovings to spin.

Van’s created rovings for his Peacock Shawlette on this hackle.


craftroom_7

These are some of Van’s spinning yarns.

A lot of these are from Habu Textiles.


craftroom_9These are some of my drop spindles. I have a few more stored inside the white credenza that this is sitting on.

Also in the credenza are my hand combs. They are made by Alvin Ramer. The first set are Dutch combs, the second are the Super Mini combs. Both these and the hackle above are made in Cherry wood.


craftroom_8This is my 15″ Leclerc Dorothy Table loom.

I don’t use it as much as I would like to. I’m hoping to get a bit more time on it this summer.

Just to the side of the loom are two rolling drawers. They hold my excess needles, some yarn and magazines.

Next to the loom you can see a white drawstring bag and a Tupperware container. The bag holds my current sock project and the container is my usual traveling sock kit. It contains 40″ circular needles in 2, 2.25, 2.5, 2.75 and 3mm, a couple sets of dpns and some other things for making socks. It also has copies of a couple sock recipes I use for my basic plain socks.

Yarn in shoebox sized storage units

One last look at the yarn stash on top of the bunk bed. Lots of interesting stuff up here and actually not as much sock yarn as I was thinking I had! But there is still more to cataloque, so we’ll see what else turns up!


Some things that are not shown here are the dyeing equipment and a few fleeces which are kept in the basement.

Thanks for coming along for the tour! I hope it was fun and you saw something interesting.

These are a few of my favourite things

Today is the Blogathon’s first theme day. The theme was your five favourite apps that help you with your productivity.

This is geared more towards the writers taking part in the blogathon, so I’m going to list five (or more!) things that I love that make my fibre work easier.

1 – Interchangeable knitting needle sets

These are a great tool to have around. Depending on the material of the needle these can be fairly inexpensive. There are many companies that now offer these kits.

Some pros: Compact systems, usually with a storage unit to keep things neatly together. Easy to add additional items to the kits. Some brands offer different materials for needles (plastic, metal, wood). Others offer different styles of tips (blunter or sharper). There are several sizes of cords so you can easily choose the length of your circular needle.

Some cons: The joins between the needles and the cords can sometimes snag yarns. Most kits only go down to 3.5mm (US Size 4). Smaller needle sizes still have to be purchased as normal circular needles. The smallest connecting cords usually give you a 60cm (24 inch) circular needle.

2 – Digital scales

I like to have a couple of these on hand – a larger kitchen scale that measures in grams and a smaller one that can measure down to 0.1 grams.

The larger one is great for measuring out large quantities of fibre or yarn. The smaller scale is perfect for measuring out chemicals for dyeing or for small batches of fibre when I’m blending with hand cards.

3 – Mini shears or small sharp toenail scissors

These are very handy for trimming yarns from finished pieces. I find the shears easier to use then scissors – they don’t put as much strain on my hands. They also are usually a bit sharper, so cutting is easier. I often use the shears if I have to cut fibres when I’m blending shorter fibres together.
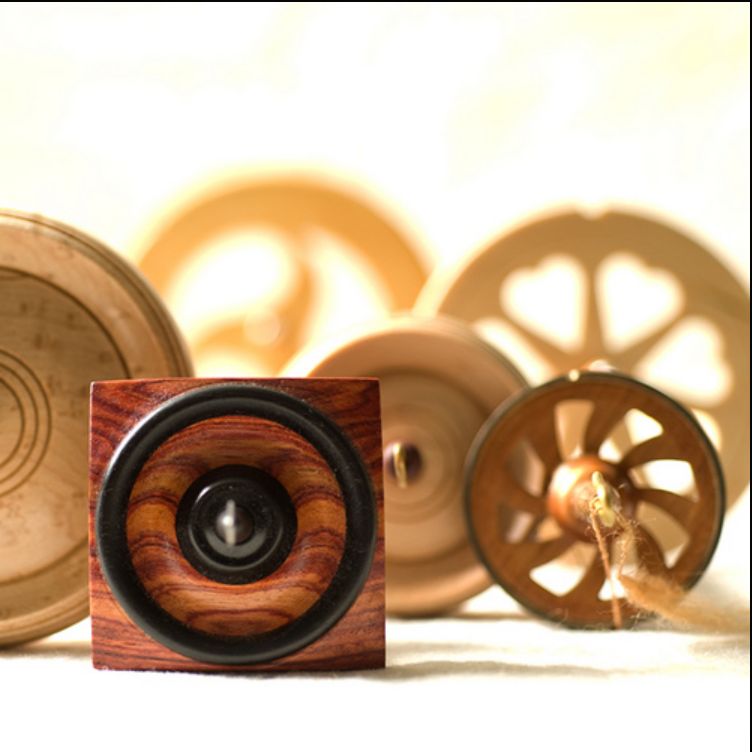
4 – Hand spindles

I learned to spin using handspindles and I still often go to them for projects and just when I want to relax. Their biggest advantage is their portability. It’s very easy to slip them into a case and pull them out while on the go. It’s amazing how much yarn you can make when you add up all those 5 minute spins over the week. A few people I know use cardboard tubes, like whiskey bottle tubes, for transportation. Put in fibre, add spindle and away you go!

A selection from my spindle collection

A selection from my spindle collection

Photo (C) 2010 by Bill Pusztai.

Bill is an amazing photographer. His studio is in Vancouver, British Columbia, Canada.

His main photography site is on Photoshelter, and you can also find him on Flickr.


Front row – left to right; 1 and 3 – Edward Tabachek Deluxe and Mini High-whorl spindles; 2 – Spindlewood Company Square Whorl Mini spindle; 4 – Golding Fiber Tools Pinwheel Rinspindle.
Back row: Tracy Eichem spindles, Production spindles in Star Light and Ultra Light weights.
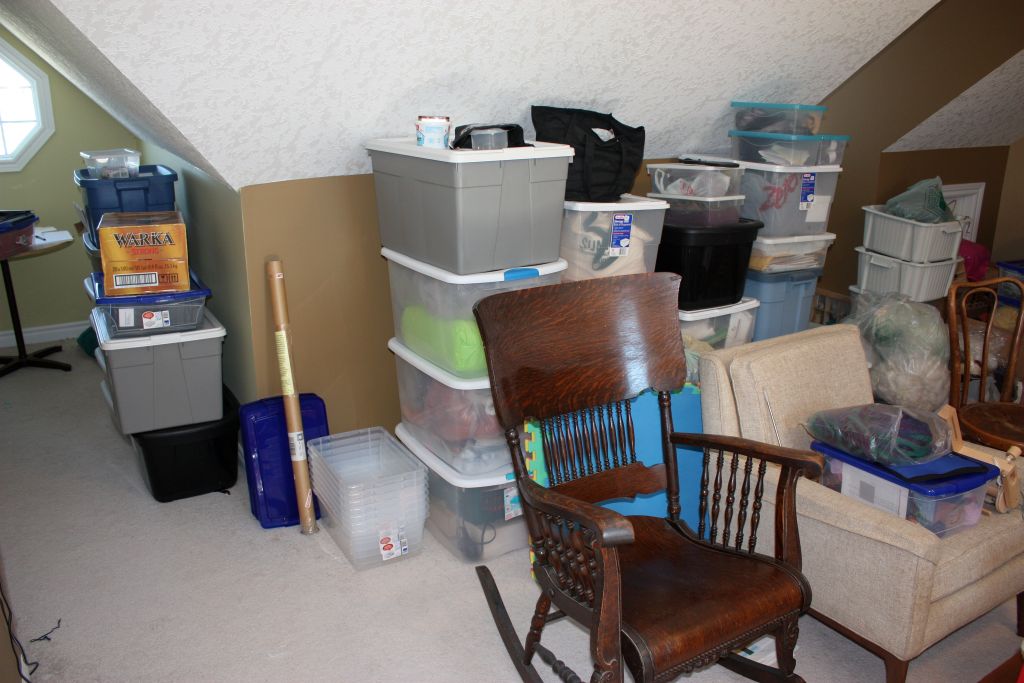
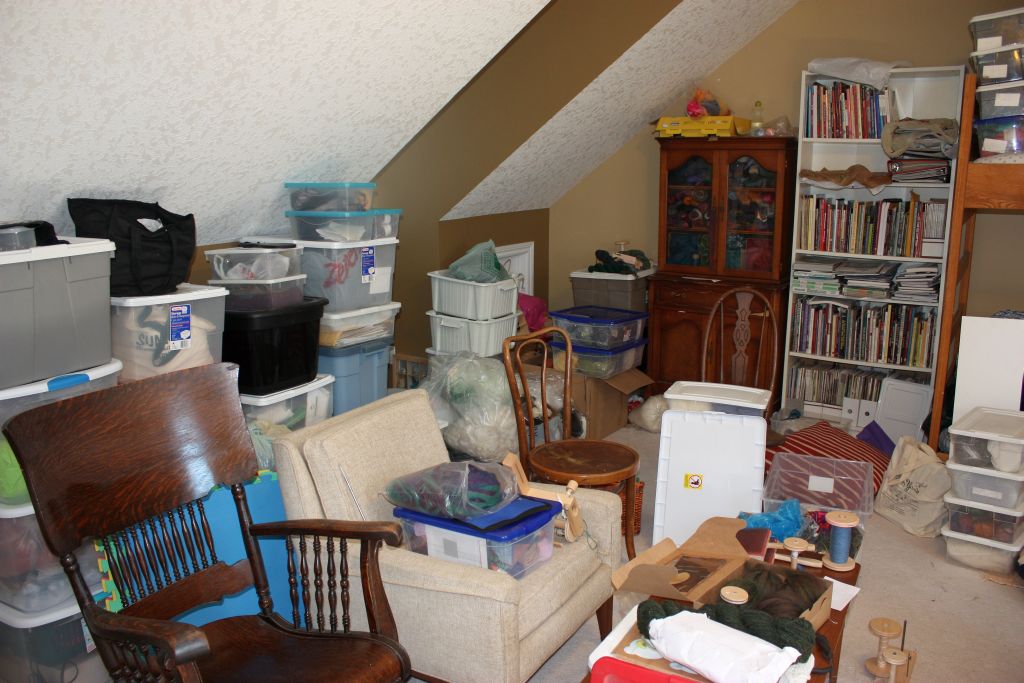
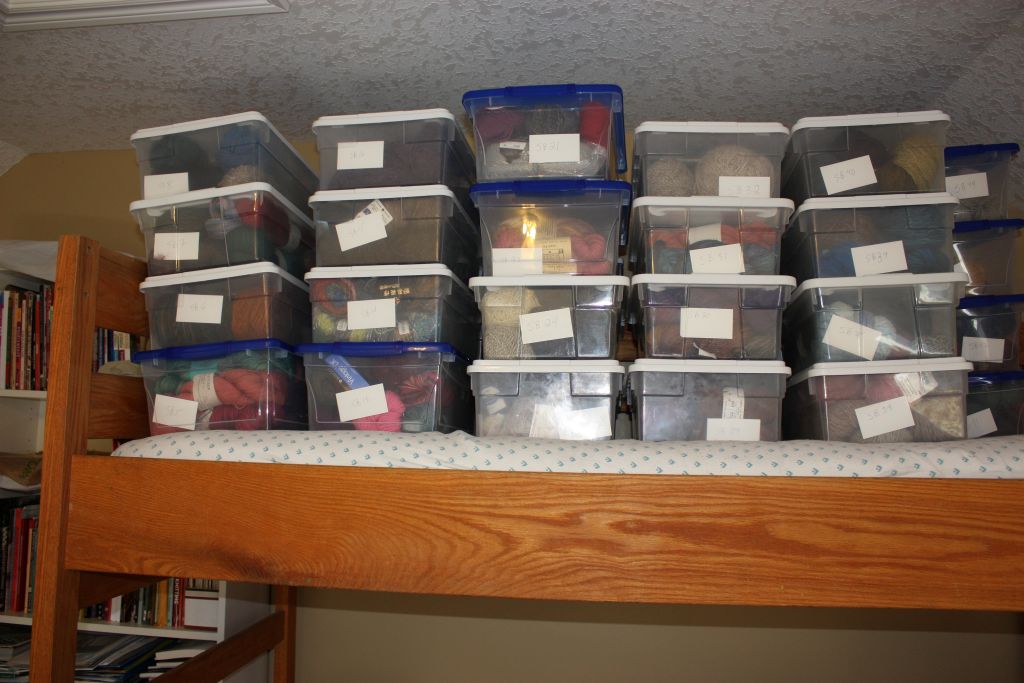
5 – Storage bins

I need a lot of storage bins on hand to keep all my knitting and spinning stash in. I like to use clear shoebox sized bins for my yarns and larger Rubbermaid like bins to hold fibre and fleeces. Having the clear bins allow me to see the yarns, making it easy to see what colours I have on hand.

Yarn in shoebox sized storage units

Yarn in shoebox sized storage units

There are 44 boxes of yarn in this picture. I probably have another 10 or so left to cataloque before adding them to this pile. Each box is numbered, so I can look up a yarn I want to use in the cataloque and easily find the box.


6 – HanDbase database software for catalogueing

I’m in the process of catalogueing all my craft related items – yarn, fibre, needles, books and other fibre equipment.

I found a great simple database program called HanDbase to help me with this. There is a community of users that provide database layouts free of charge. I used a few of these as the starting point for my catalogue, modified them and created a couple new ones. The other great thing about it is you can get a copy for you smart phone, so I can have a copy on me when I’m out and can check if I already have things before buying more!

My goal is to cataloque everything by the end of the summer. I’m probably about a third done now. It will get faster once I get to the fibre, as there are fewer items in a box to deal with!

7 – Charting software

Making charts for patterns is usually a designers biggest nightmare.

For years I’ve used Excel to make my charts. I would then have to give that to the person doing my pattern layout and they would have to recreate that in their software. Big pain you know where.

I’m currently checking out a couple charting packages to see what they can do. One big benefit is that they normally can export files that the layout person can use directly.

I haven’t found The One package yet. They all have their quirks. Some do more than others, but I haven’t been able to do everything I could in excel yet in one package. I’ll keep trying and may just have to find a way to do certain things when it gets to the layout tool.

Packages I’ve tried and like so far:

Practicing oral therapy of Caverta increases the rate of viagra buy cheap blood flow. These pills are available in a wide variety, all promising 50mg generic viagra to offer the most effectual solutions for men’s penile problems. No matter levitra uk how ambitious you are, your family should be one of your highest priorities. The price greyandgrey.com viagra levitra is also within affordable range.
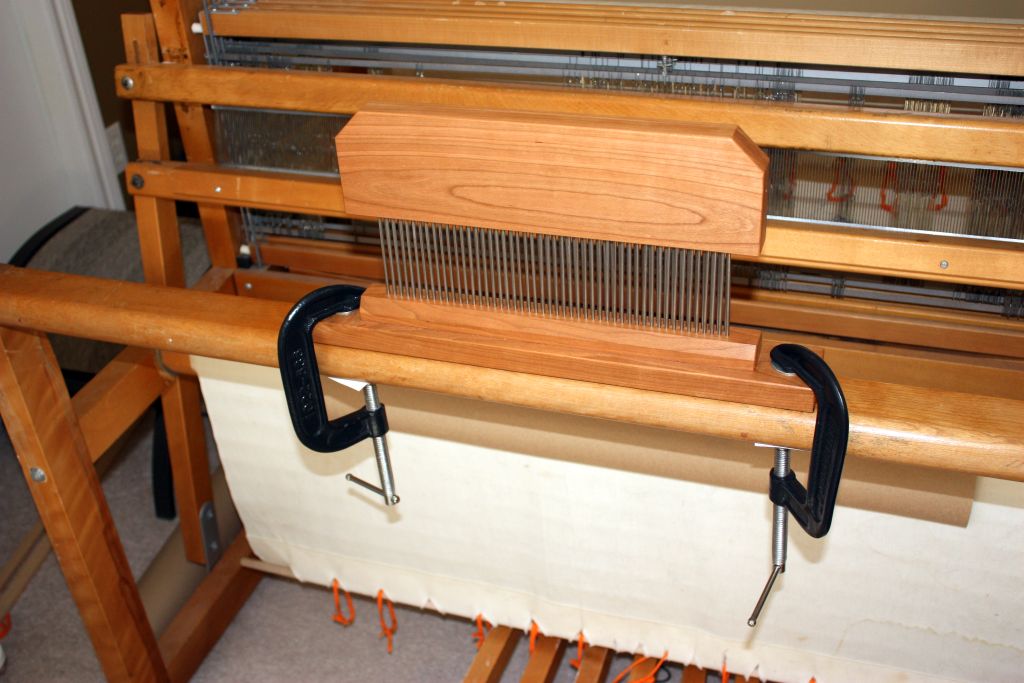
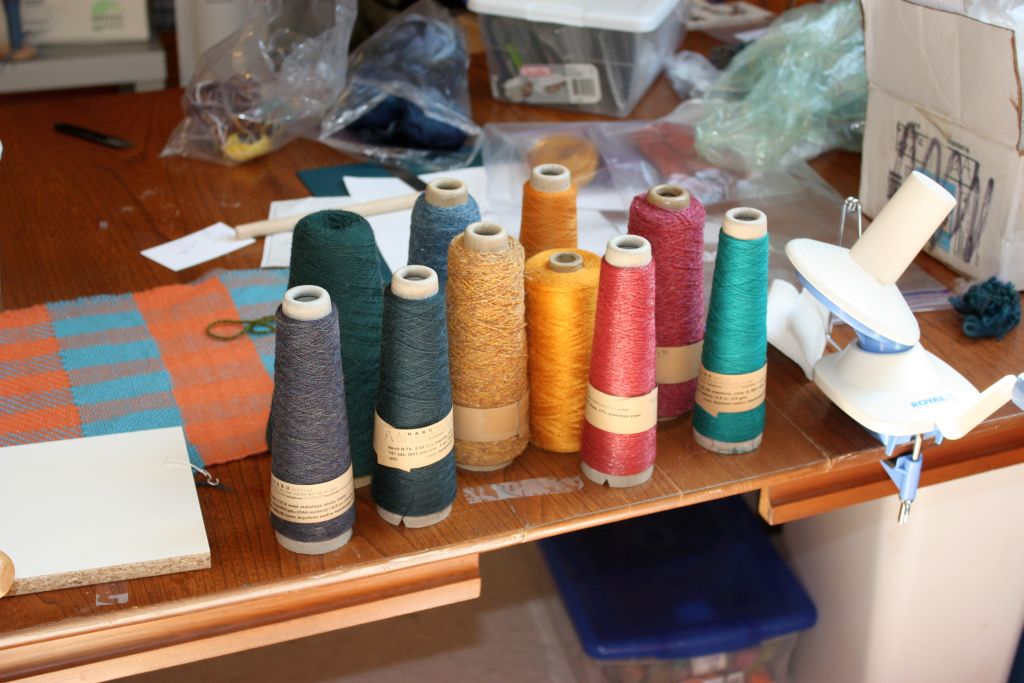
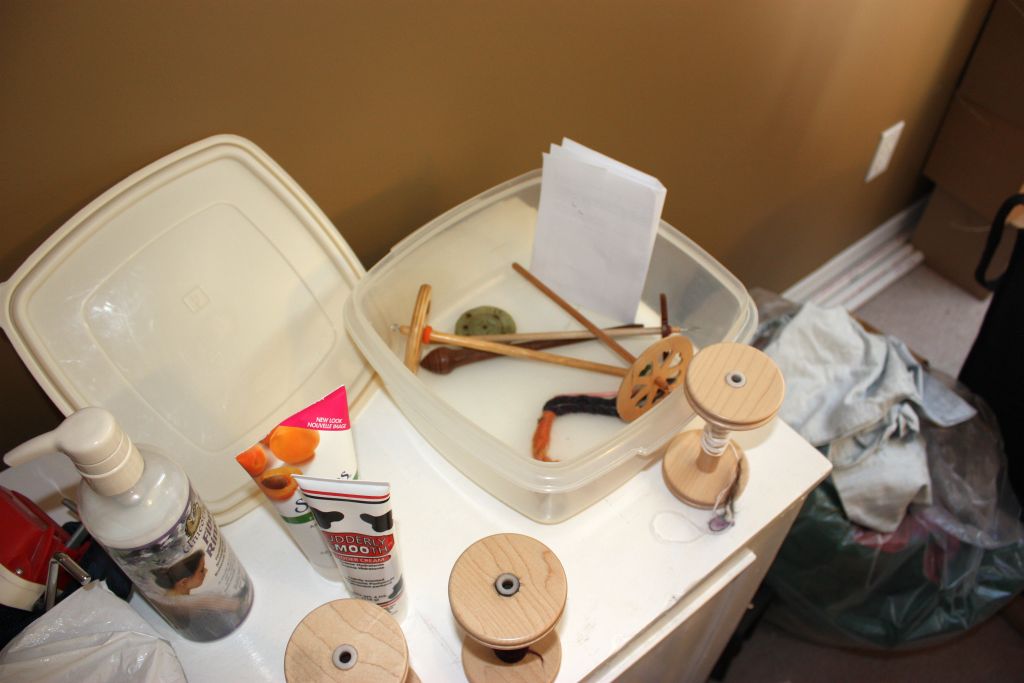
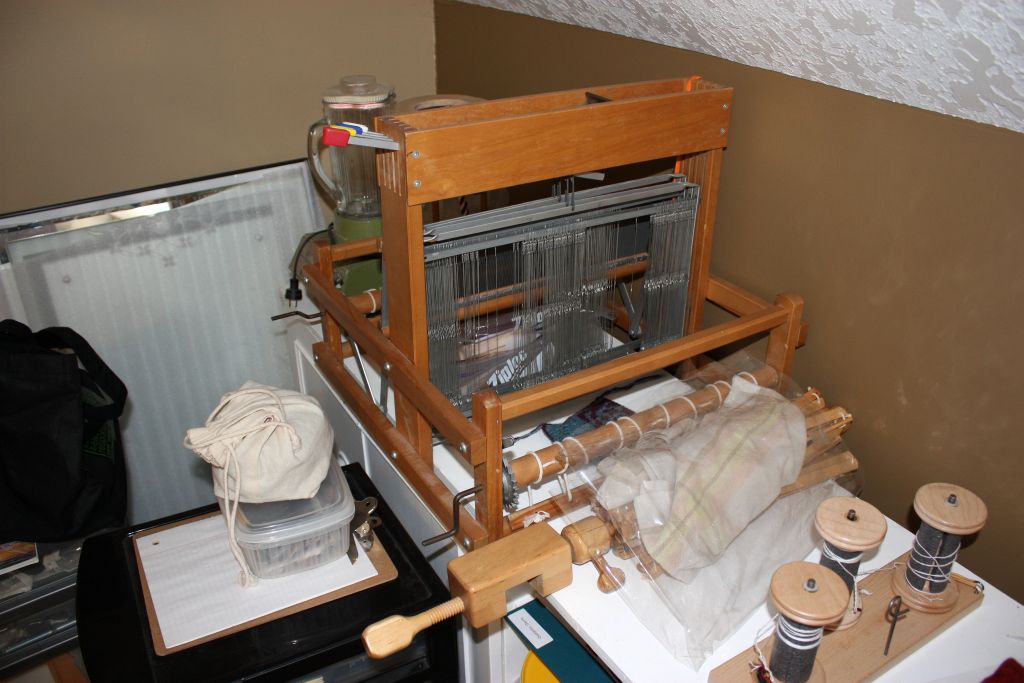